How to install Salix Live on an USB key
Contents |
How to install Salix Live on a USB key?
It depends if you already have a Salix Live CD or simply an ISO image. In any case, Unetbootin is not supported and should not be used.
These mostly automatized methods to install the LiveCD to an USB only support sticks formatted as FAT (FAT16, FAT32, VFAT), as supported by syslinux, and a MBR partition table (no GPT). If you don't know what this means, you most probably have such a stick. Other setups are very uncommon and require you to do all the work manually.
If you have any important data on the stick, please do create a backup before continuing! Also we've carefully written those scripts to protect your data, we make no guarantees whatsoever.
From a Salix Live CD
- Boot a Live session from the CD.
- Insert your USB key.
- Use LiveClone.
From an ISO image
- Open the ISO file using a software archiver (file-roller, xarchiver, 7-zip, iso-master, …)
- Extract all files and folders (boot, packages, salixlive and salix-<...>.live) to your USB root directory
- Go to the "boot" directory on the USB key.
- If you're on Unix (Linux, BSD, Max OS X), simply execute the file called "install-on-USB.sh" (root privileges are required)
- If you're on Windows, execute the file called "install-on-USB.cmd" instead.
Walkthrough with file-roller on Linux
This is to give you a more precise idea how it's done. We're assuming you're using file-roller as your default archive manager and Thunar as your file manager, but for other tools like xarchiver it should work quite similarly. If you have such other tools don't be surprised if the screenshots are not exactly what you're seeing. ;)
- First check whether you have the package for syslinux, parted and lilo installed. The last one is optional, but highly recommended.
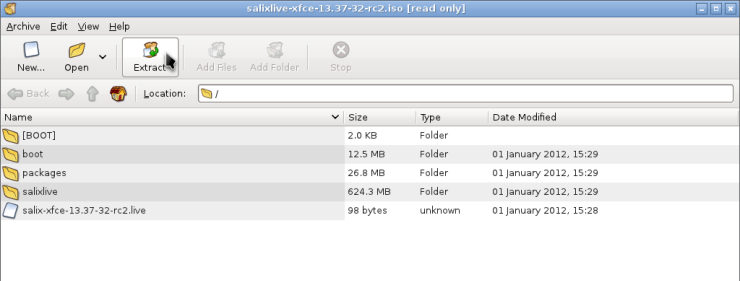
- Browse to the directory where you downloaded the ISO image file to and open it by double-clicking. This should bring up your default archive manager.
- Now select the "Extract" button.
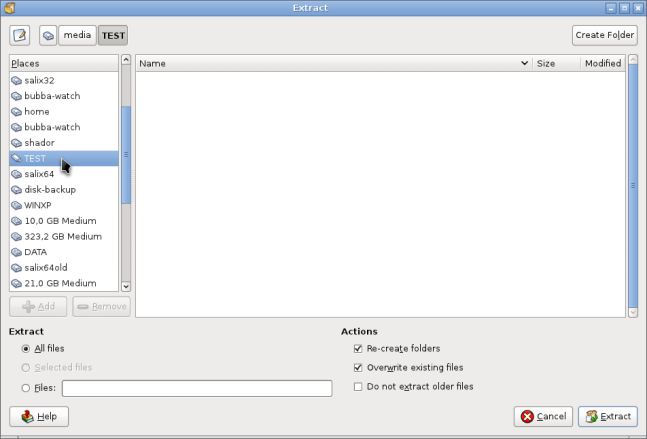
- In the popping up dialog window select your USB stick in the left column. For me it's "TEST". If the USB Stick doesn't show up, try opening it first in your regular file manager. Also make sure that the same tickboxes/radio buttons are selected in the bottom of the window (Extract "All files", "Re-create folders" and "Overwrite existing files").
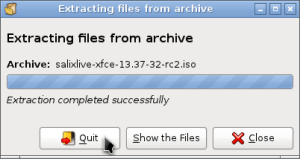
- Now press the extract button and wait until the operation is finished. If it is, press the "Quit" button.
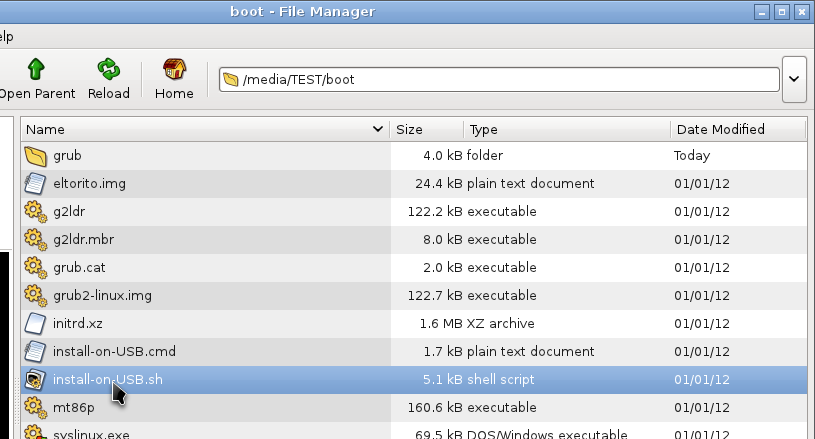
- Open your file manager and navigate to your USB stick. Open the boot directory in the root of your stick.
- Start the installation by double-clicking the install-on-USB.sh script.
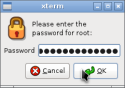
- You're prompted for your root password because administrative privileges are required.
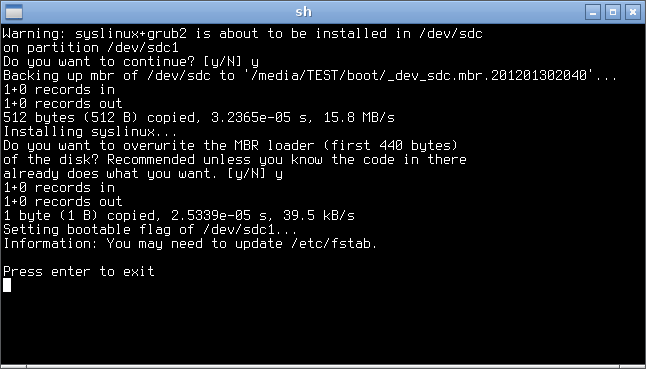
- Now follow the on-screen instructions. It should be safe to always say yes, after checking whether the right devices have been chosen. Finally you should end up like this:
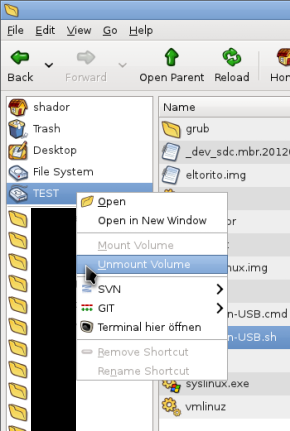
If you end up getting a error message, first try to make some sense out of it. You might be missing one of the utilities mentioned before (syslinux, parted, lilo). - IMPORANT!!! Be sure to unmount your stick and to wait for it to become really unmounted after all data has been written onto the device. Don't unplug it before it's really unmounted. For Thunar and many other file managers unmounting works by right-clicking onto the device in the left-hand panel.
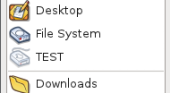
- If the stick is really unmounted and all data has been written, this is somehow indicated. For example by greying out the device.
- Done! Now reboot and select your USB Stick as the boot media for your BIOS.
Many BIOS offer a Boot Selection Menu for this task, which is accesible for example by F12. Otherwise you might have to enter your BIOS Setup and change the boot device order/priority.


